Forms Settings Overview
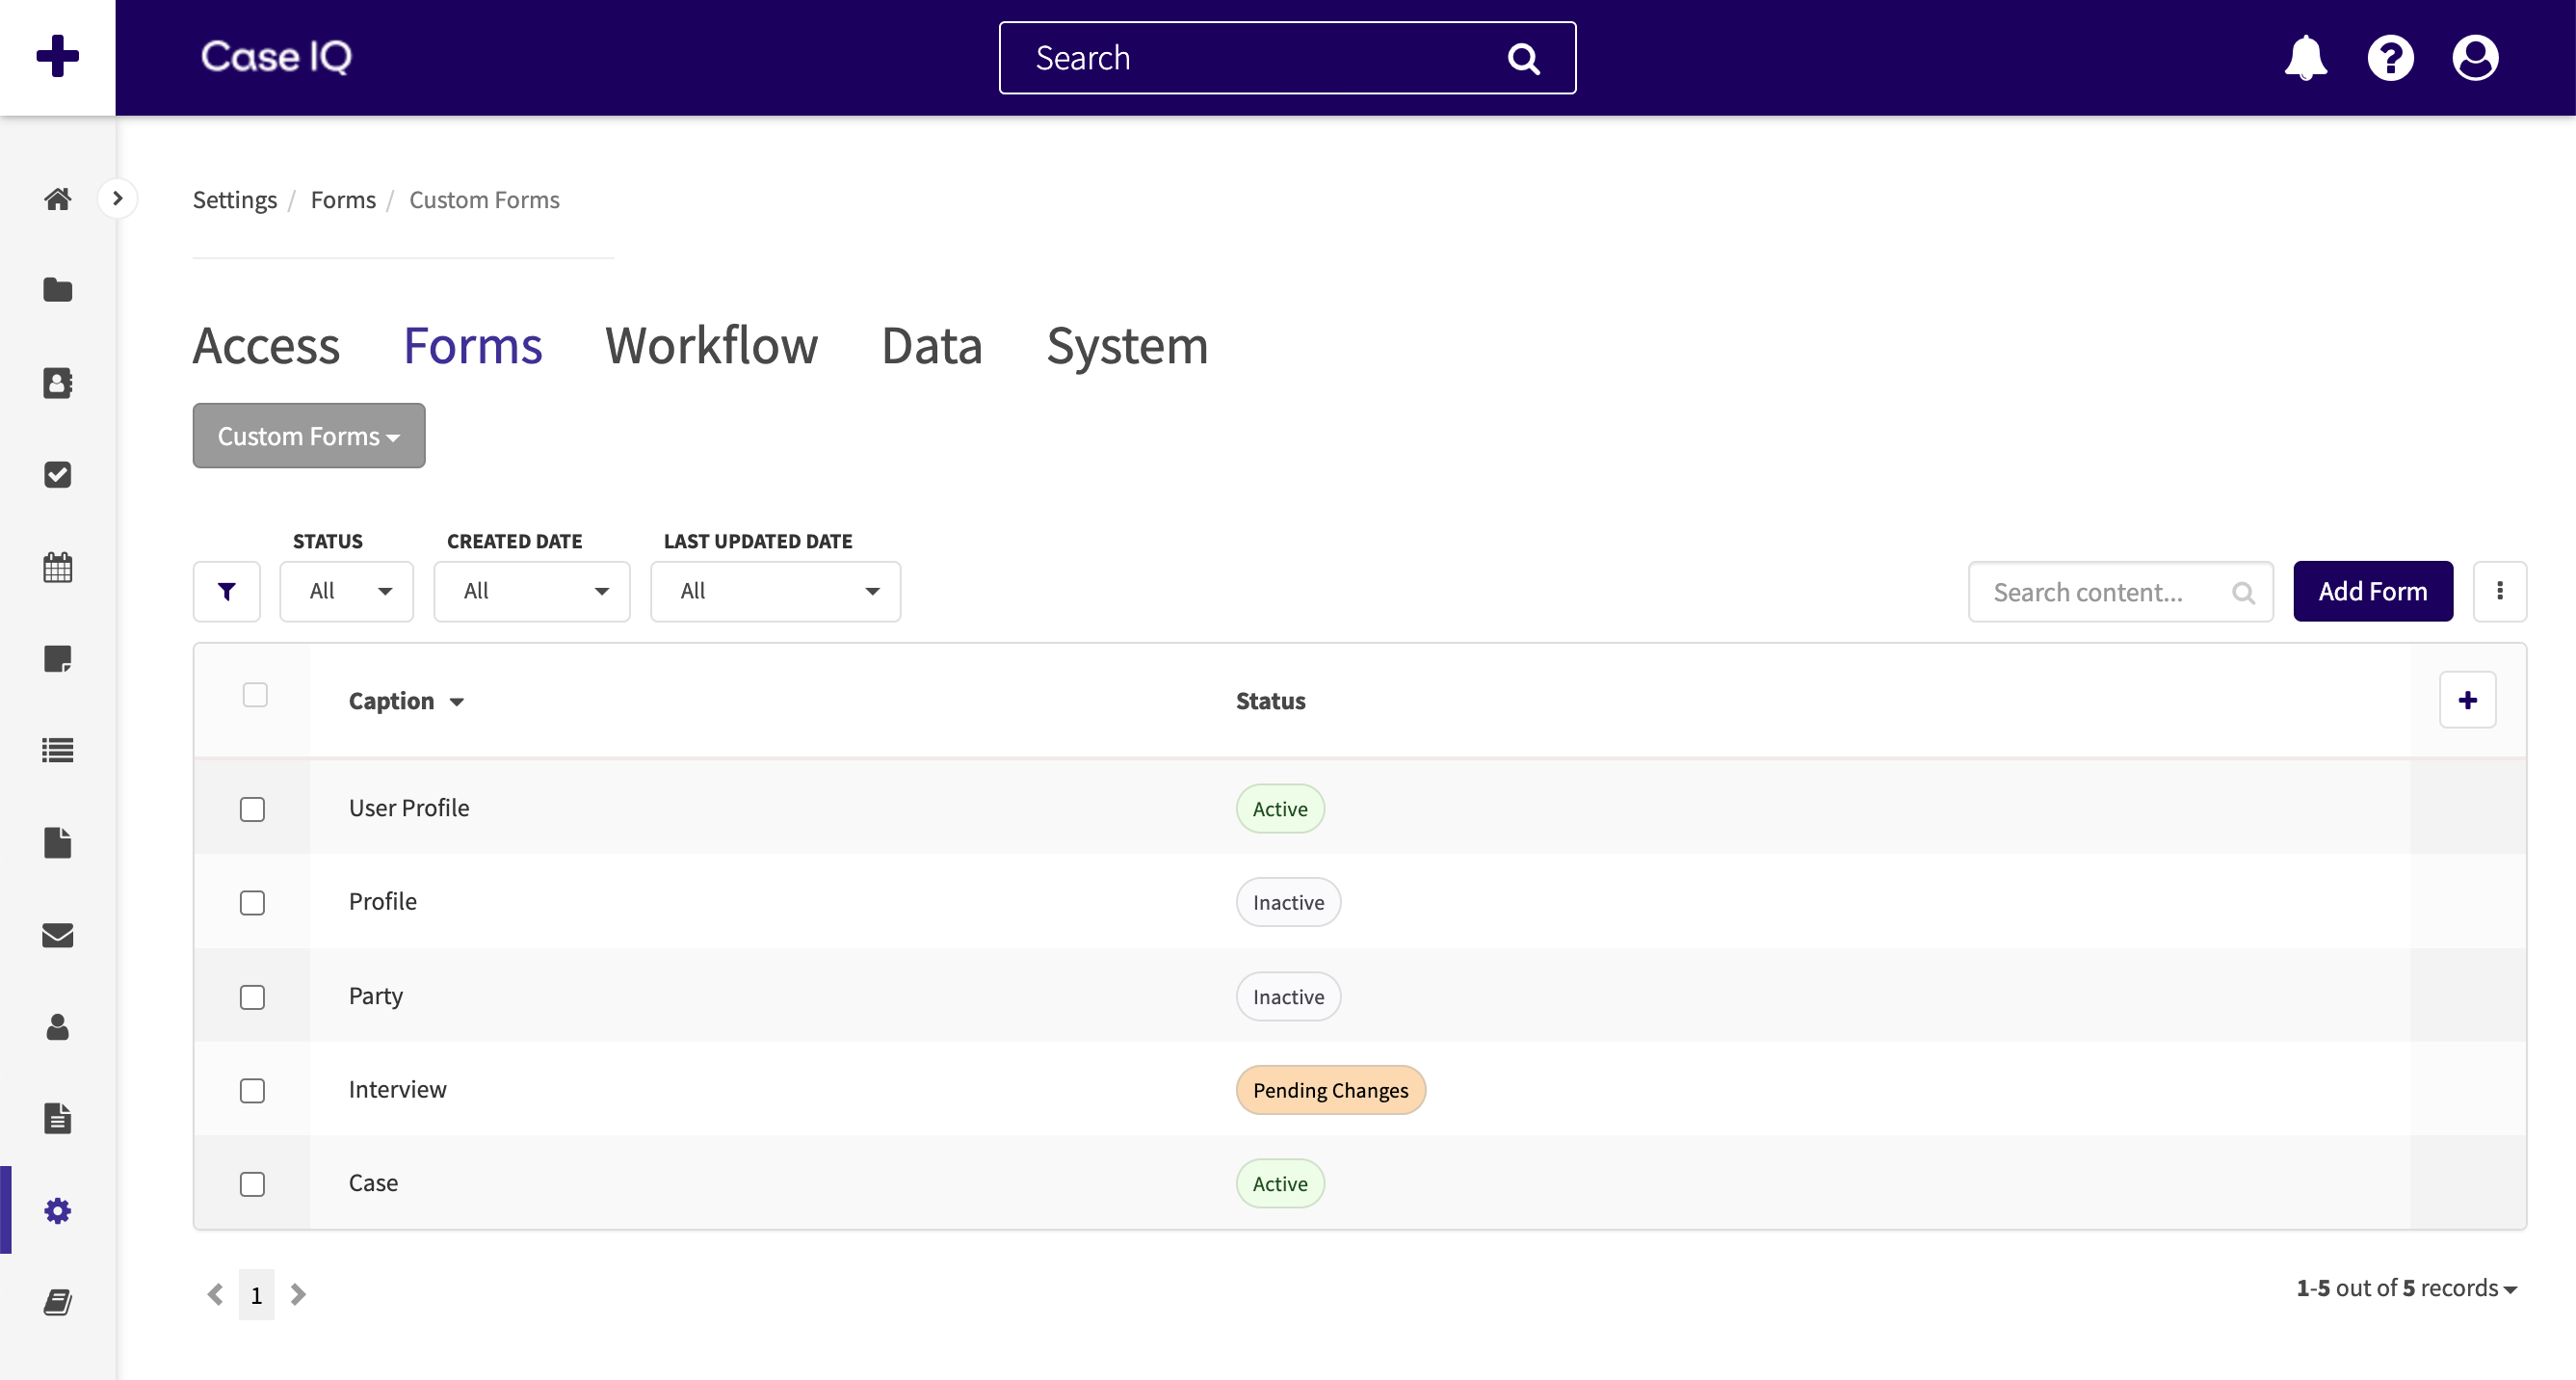
On the Forms page in Case IQ's Settings, System Administrators can see all configurable custom, data, and standard forms in your application and access the Form Builder to edit and add new forms. You can navigate to the Forms page by clicking the Forms tab in Settings, where the “Forms” page menu option will be displayed by default.
There are 3 form types in Case IQ:
- Standard forms: the base record types included in every Case IQ application. You can edit the case, party, profile, and user profile forms in the Form Builder. See the Edit a Standard Form article for more on updating standard forms.
- Custom forms: record types of a case, like parties and notes, that you configure for your application to save supplemental case data. After publishing a custom form in the Form Builder, you can use the form in the main application to create a new record of a case. See Add a Custom Form for details on creating new form.
- Data forms: templates of information that you want users to be able to auto-populate for a standard or custom form. After creating a data form, you can add it as a section on a standard or custom form. A user can auto-populate the fields of the data form section on the standard or custom form with any of the data form’s entries. See Set up a Data Form for details.
The Forms page also shows each form's status, which can be:
- Active: the latest version of the form is available for users in the application.
- Inactive: the form is saved in the system, but it is not available for use in the application.
- Pending Changes: a user has edited the form after it was published, but the changes have not been published. The previous version of the form, prior to the user’s edits, is still available in the application.
In the Form Builder, you can add and edit fields, sections, and tabs, configure display rules, and edit a form's settings. You can load a form in the Form Builder by clicking a row in the grid on the Forms page will load it in the Form Builder. The Use the Form Builder article covers everything you can do with the Form Builder to configure forms.
