Add and Delete a Picklist Option
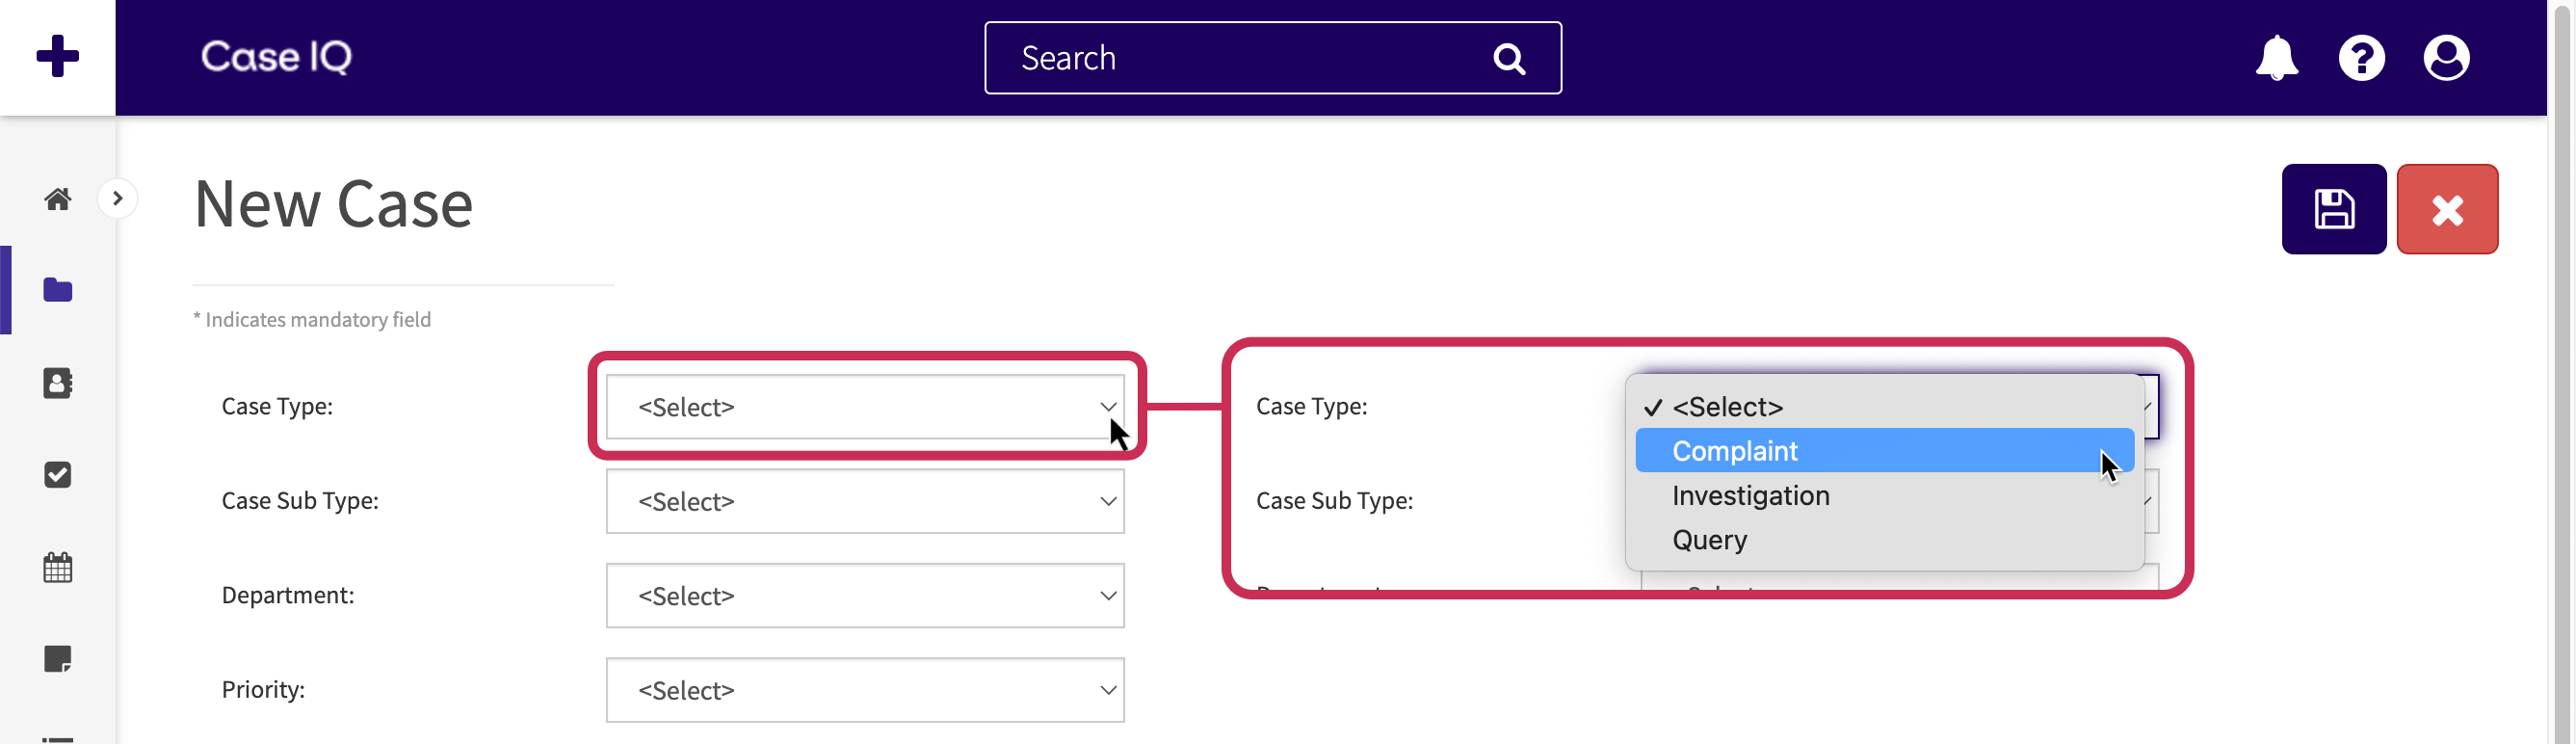
System Administrators can configure the options available in most dropdown menus in the application. In Case IQ, a dropdown field in a form with customization options is called a “picklist”. A General User can click the field to select one or more of the options that a System Administrator sets when configuring the picklist.
You can configure picklists via three locations in the application:
- From the Picklists page, you can add and delete options for picklists.
- In the Form Builder, you can add new picklists to forms, add and delete options for picklists, and configure the settings of picklists and their options.
- You can edit picklist options in bulk from the Configuration Export and Import page.
This article covers the Picklists page, which you can access from the Forms tab in Settings by selecting "Picklists" in the page menu. To learn more about the additional ways you can configure picklists on other application pages, including adding new picklist fields, setting up picklist dependencies, and editing picklist options in bulk, see the Configure Picklists and Picklist Options article.
Add a Picklist Option
You can set the options to display in the picklist dropdown menu via the Picklists page. Any picklist options you add will be populated in the Picklists page, Form Builder, and application configuration data.
To add an option to a picklist:
- Click the Add button on the Picklists page.
- The New Picklist Item form will be loaded. Select the picklist for which you want to add an option in the “Picklist” dropdown.
- Alternatively, you can select the picklist to which to add an option using the “Picklist” grid filter on the Picklists page before clicking Add.

- Alternatively, you can select the picklist to which to add an option using the “Picklist” grid filter on the Picklists page before clicking Add.
- In the “Value” field, type in the picklist option text that will be shown in the picklist dropdown menu.
- In the “Sequence” field, enter a numerical value to indicate the order that the option should be displayed in the picklist. By default, the options will be ordered alphanumerically.
- If you are adding an option for a picklist field is available on your application's portal, you will also see the “Show on the external portal intake form” toggle on the New Picklist Item form. Turn this toggle on if you want to show a picklist option on the application's portal so portal users can see it in the picklist field.
- Click the Save button to add the new picklist option or select Save and Copy in the Options (
 ) button menu to add another option. The new option will be displayed on the Picklist page grid.
Some picklist's options are dependent on options in another picklist on the same form, which are called “dependent” picklists. This means the dependent picklist will display different options in its dropdown depending on the user's selection in the parent picklist.
When adding options to a dependent picklist, there will be an additional dropdown containing all parent picklist options on the New Picklist Item form, so you can select with which parent picklist option the dependent picklist option will be associated. Each dependent picklist option can only be dependent on one parent picklist option. If the same dependent picklist option should be displayed for more than one parent option, you will need to add the dependent picklist option multiple times.
In the example below, the “Fraud” option is being added to the “Case Sub Type” picklist, which will be shown when “Investigation” is selected in the “Case Types” picklist.

Edit or Delete a Picklist Option
You can adjust a picklist option from its page. You cannot update the “Value” field of a picklist option for data integrity purposes. If you made an error typing in a picklist option's “Value” field, delete the picklist option, then add a new option with the correct “Value”. Use the following steps to edit or delete a picklist option.
- Click the picklist option row on the Picklists grid.
- The option’s page will be loaded. Select the Edit button.
- You can enter a new number in the “Sequence” field to update the order of the picklist or turn the “Show on the external portal intake form” toggle on or off.
- Click the Save button to update the picklist option.
- If you want to change the text of the picklist option, delete the option and add another one. Click the Options () button on the picklist option's page and select the "Delete" option.
- Follow the steps in the Add a Picklist Option section to create a new picklist option to replace the one you just deleted.