Purge, Schedule Purge, or Cancel Purge for a Record
On the Purge Records page, you can schedule purges and review all records that will be deleted in upcoming purges. Case IQ will automatically and permanently remove all user-entered information from a record at the time of the scheduled purge. This includes all the record's data except system-generated information, such as the record's number and created date. For example, if you purge a case, the case number will be retained but its details, such as the "Case Type" or "Status", will be deleted.
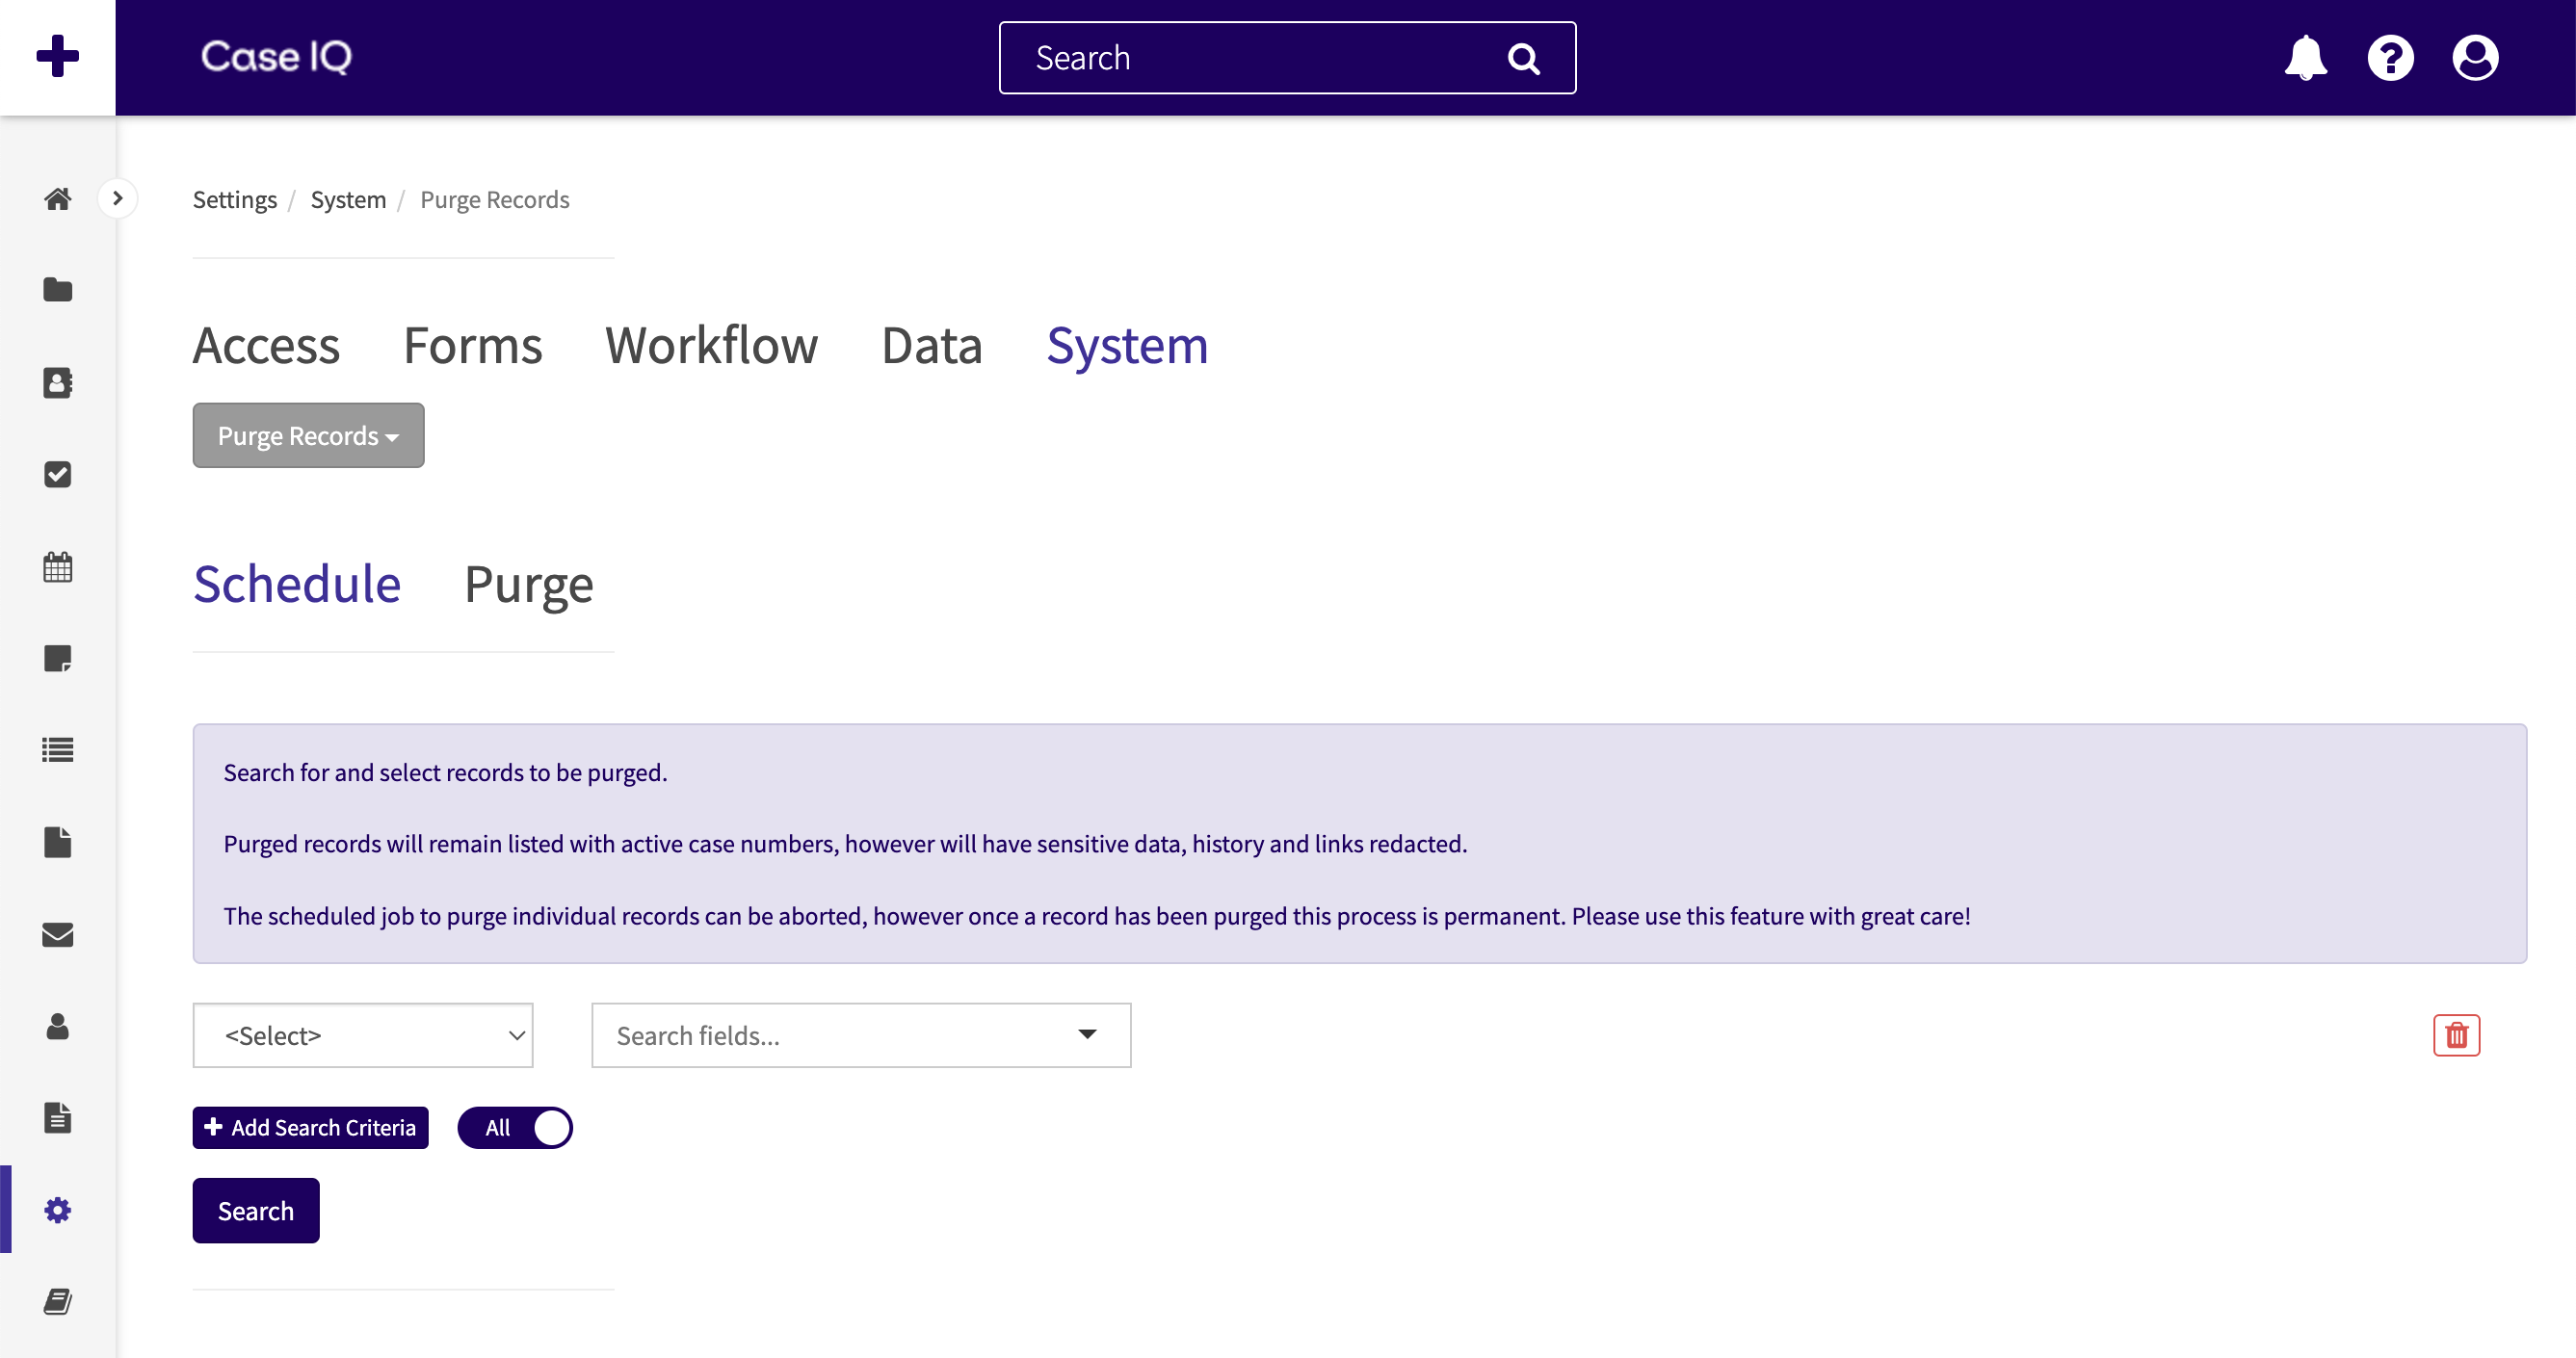
Navigate to the Purge Records page by selecting the “Purge Records” option on the System tab. There are two tabs on the Purge Records page. You can select records to be purged on the Schedule tab, then review records to be purged on the Purge tab. Both tabs are covered in the article sections below.

Schedule a Purge
Use the Schedule tab to find records you want to purge from the system and select them to be purged. The steps below detail how to find the records to purge and set up a purge.
- In the first dropdown menu, select the record type of the record you need to purge.
- Narrow down the search results using the remaining dropdown menus. You can search by a record field and record field values. In the example below, the search criteria were set to find cases created in 2022 so far.
- Select one or more records by checking the row checkbox. The Schedule Purge button will appear in the grid header. Click the Schedule Purge button.
- If you would like to see more details of the record before scheduling the purge, click the record's row in the grid to load its page.
- A warning message will pop up asking you to confirm if you want to purge the record. Click Yes to proceed.
- You will be prompted to select a reason for purging the record in the PurgeRecord pop-up. Select a reason option from the dropdown.
- Click the Save button to finalize scheduling the record to be purged.
To confirm when the record will be purged, remove the record immediately, or cancel the scheduled purge, click the Purge tab, which is described in the next section.
Purge or Cancel Purge for a Record
On the Purge tab of the Purge Records page, you can review all records that have been scheduled to be purged, stop a record from being purged by the scheduled time, or purge records immediately, without needing to wait for the system to carry out the scheduled purge. To immediately purge or cancel purge for a record, see the following steps:
- Use the search criteria to find the record if needed.
- When you have found the record row, select it by checking the row checkbox.
- If you would like to see more details of the record, click the record's row in the grid to load its page.
- The following buttons will appear on the grid header: Purge, Cancel Purge, and Export.
- To restore the record and ensure that the data is not permanently deleted, click the Cancel Purge button.
- To purge the record immediately, click Purge.
- Both options will load a confirmation pop-up asking if you would like to proceed with the action. Click Yes to continue.