Edit, Activate, Deactivate, or View Activity of a User Account
View an individual user account's information by clicking a row in the Users grid to load the user account's page. The page will grant you complete access to manage, update, and view associated activity of the account. This article covers every action you can complete via a user account's page by tab.
Edit a User Account
You can edit the details of a user account from an account's page. If you have permission to edit user accounts, use the following steps to update an account:
- On the Users page, click the user account's row in the Users grid.
- Click the Edit button.
- The user account's page will now be in edit mode. Use the text boxes, picklists, radio buttons, and other data input options to update the information in the user account form fields.
- When you have completed your changes, click the Save button.
Activate or Deactivate a User Account
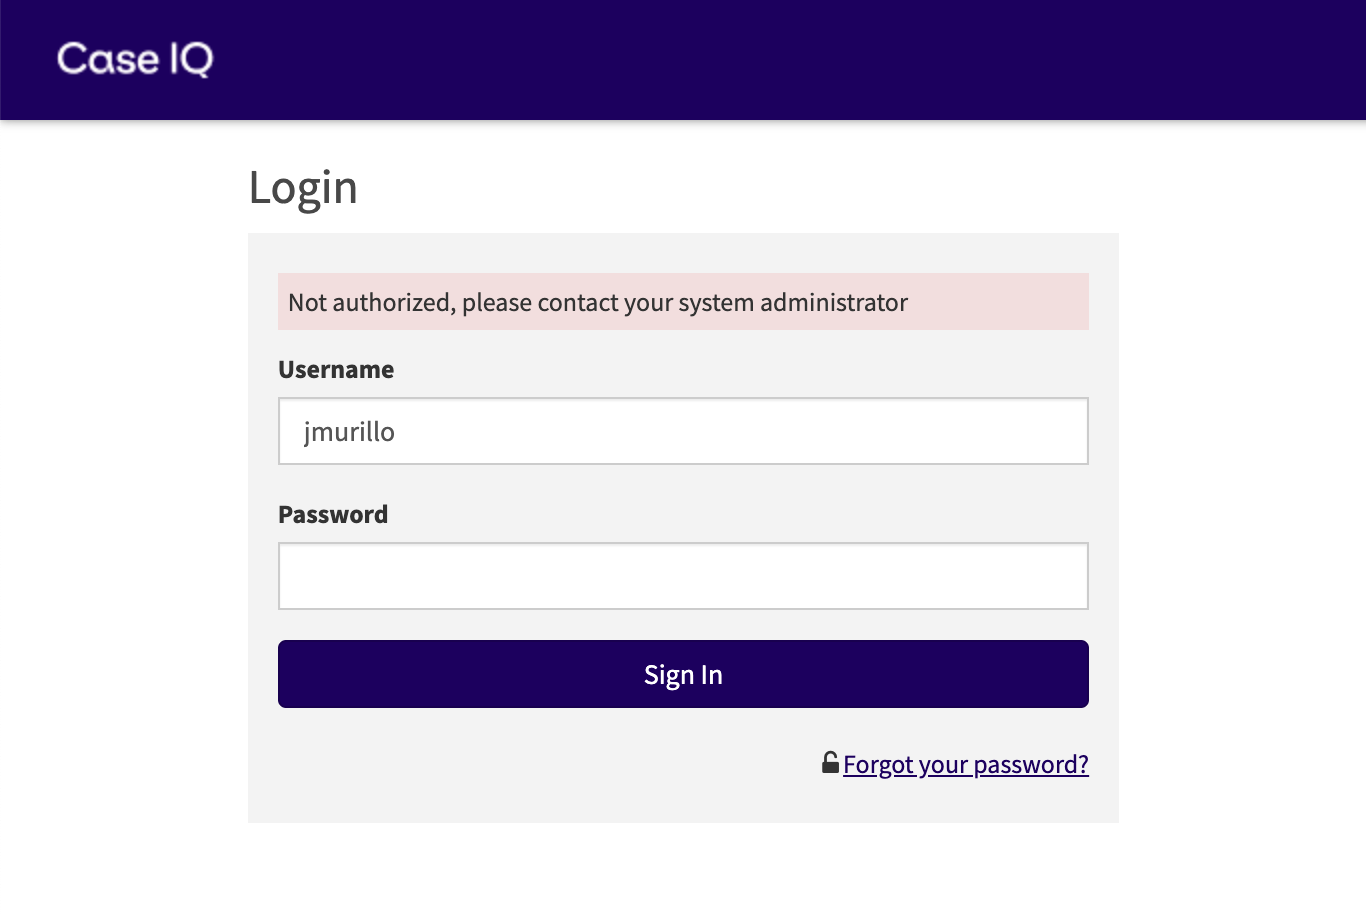
You can deactivate an active user account or reactivate an inactive account at any time. A person cannot log in to Case IQ using an inactive user account, as shown in the screenshot below, and they will no longer receive notifications. However, all records that they created, assigned, and updated will remain in the system.
You can deactivate or activate an account from a user account’s page:
- From the Users page on the Access tab, click a user account row in the grid.
- Click the Options (
 ) button on the user account’s page and select “Deactivate” or "Activate".
 - Click Yes on the confirmation pop-up to proceed with deactivating or activating the account.
If you deactivated the account, the user account’s page will now have an “Inactive” flag and a warning banner. If you ever need to reactivate their account, click the link in the warning banner or the “Activate” option in the Options button menu.
Reset Multi-Factor Authentication
If Multi-Factor Authentication (MFA) has been set up for your application (see Configure MFA for Your Application for instructions), you can reset a user's MFA from their user profile in Settings. The user must setup their MFA with their authenticator application before they can sign in to Case IQ again (see Set Up MFA for Your Account for details). For convenience, we recommend users log in with their backup codes if possible.
To reset a user's MFA:
- Navigate to the Users page under the Access tab in Settings. Click a user account row in the grid.
- Click the Options () button on the user account’s page.
- Select “Reset Multi-Factor Authentication".
- Click "Reset" on the confirmation pop-up to proceed. The user must register for MFA again when they next sign in to Case IQ.
Remove Lockout for a User Account
After 3 failed consecutive attempts to log in, a user's account will be locked and the user will no longer be able to log in with their account. You can unlock an account from the user account's page by clicking the Unlock button. The user will be able to log in to their account again.
View an Account's History
The History tab on the user account’s page displays a list of all actions that have been performed on the account record. Actions completed by the user in the rest of the application are not recorded on the user account's page History tab, but on the Activity tab. The History grid cannot be exported as it contains multiple data types.

The columns in the History grid help to categorize the different types of data summarized in this chart:
- User: identifies the user who performed the action.
- Action: describes the type of task that occurred.
- Changes: shows the field values that were changed in the action, detailing the original value (“from” in History row) and the value following the change (“To”).
- Date: the date and time when the action occurred.
- Source IP: the Internet Protocol address (IP address) of the device that the individual used to perform the action.
View an Account's Sessions
The system tracks login session information each time a user account accesses the application for security purposes. The Sessions tab on the user account’s page displays a list of login activity, including the IP address where the user logged in, the login time, and the session ID.
 View an Account's Activity
Case IQ tracks all actions a user performs under the Activity tab of the user account’s page, so you can check the work someone has completed in the application. You can also review all actions completed in the application by any user at once in User Activity.
 The columns in the User Activity grid help to categorize the different types of data summarized:
- Action: describes the type of task that occurred.
- Changes: shows the field values that were changed in the action, detailing the original value (“from” in Activity row) and the value following the change (“To”).
- Reference: if the action was not performed on the record itself, but on an associated form or record of the case, this column provides more information on the record where the action was completed.
- Date: the date and time when the action occurred.
- Source IP: the Internet Protocol address (IP address) of the device that the individual used to perform the action.
- User Agent: the browser details, operating system and version, and device type that the individual used to perform the action.