Send an Email to a Case
If your system administrator has set up an inbox for your application, you can send an email directly to a case using a specific address. When you send an email to your application's case inbox, the system will add the email to the case in Case IQ, which you can see on the Emails tab on the case's page. You will need to know the system inbox email address before you can send an email to a case. Contact your system administrator for the system inbox email address. Administrators can refer to Add an Email Rule and Review Unassigned Incoming Mail for details on setting up a case inbox and system inbox email address.
To show you how to send emails to cases, an example Case Inbox rule was created with the email address caseinbox@sample.caseiq.com Then, an email was sent to the example email address using the following steps:
- Draft an email in your email client (e.g. Microsoft Outlook, Gmail, etc.).
- Enter the System Inbox Address email address provided by your System Administrator as the recipient. In this example, the email was sent to caseinbox@sample.caseiq.com (labelled 2 in the screenshot below).
- Administrators can configure this system inbox address. See Add an Email Rule and Review Unassigned Incoming Mail for details.
- Enter an existing case's number at the beginning of the subject line. The system will read all characters before a space in the email subject line as the case number.
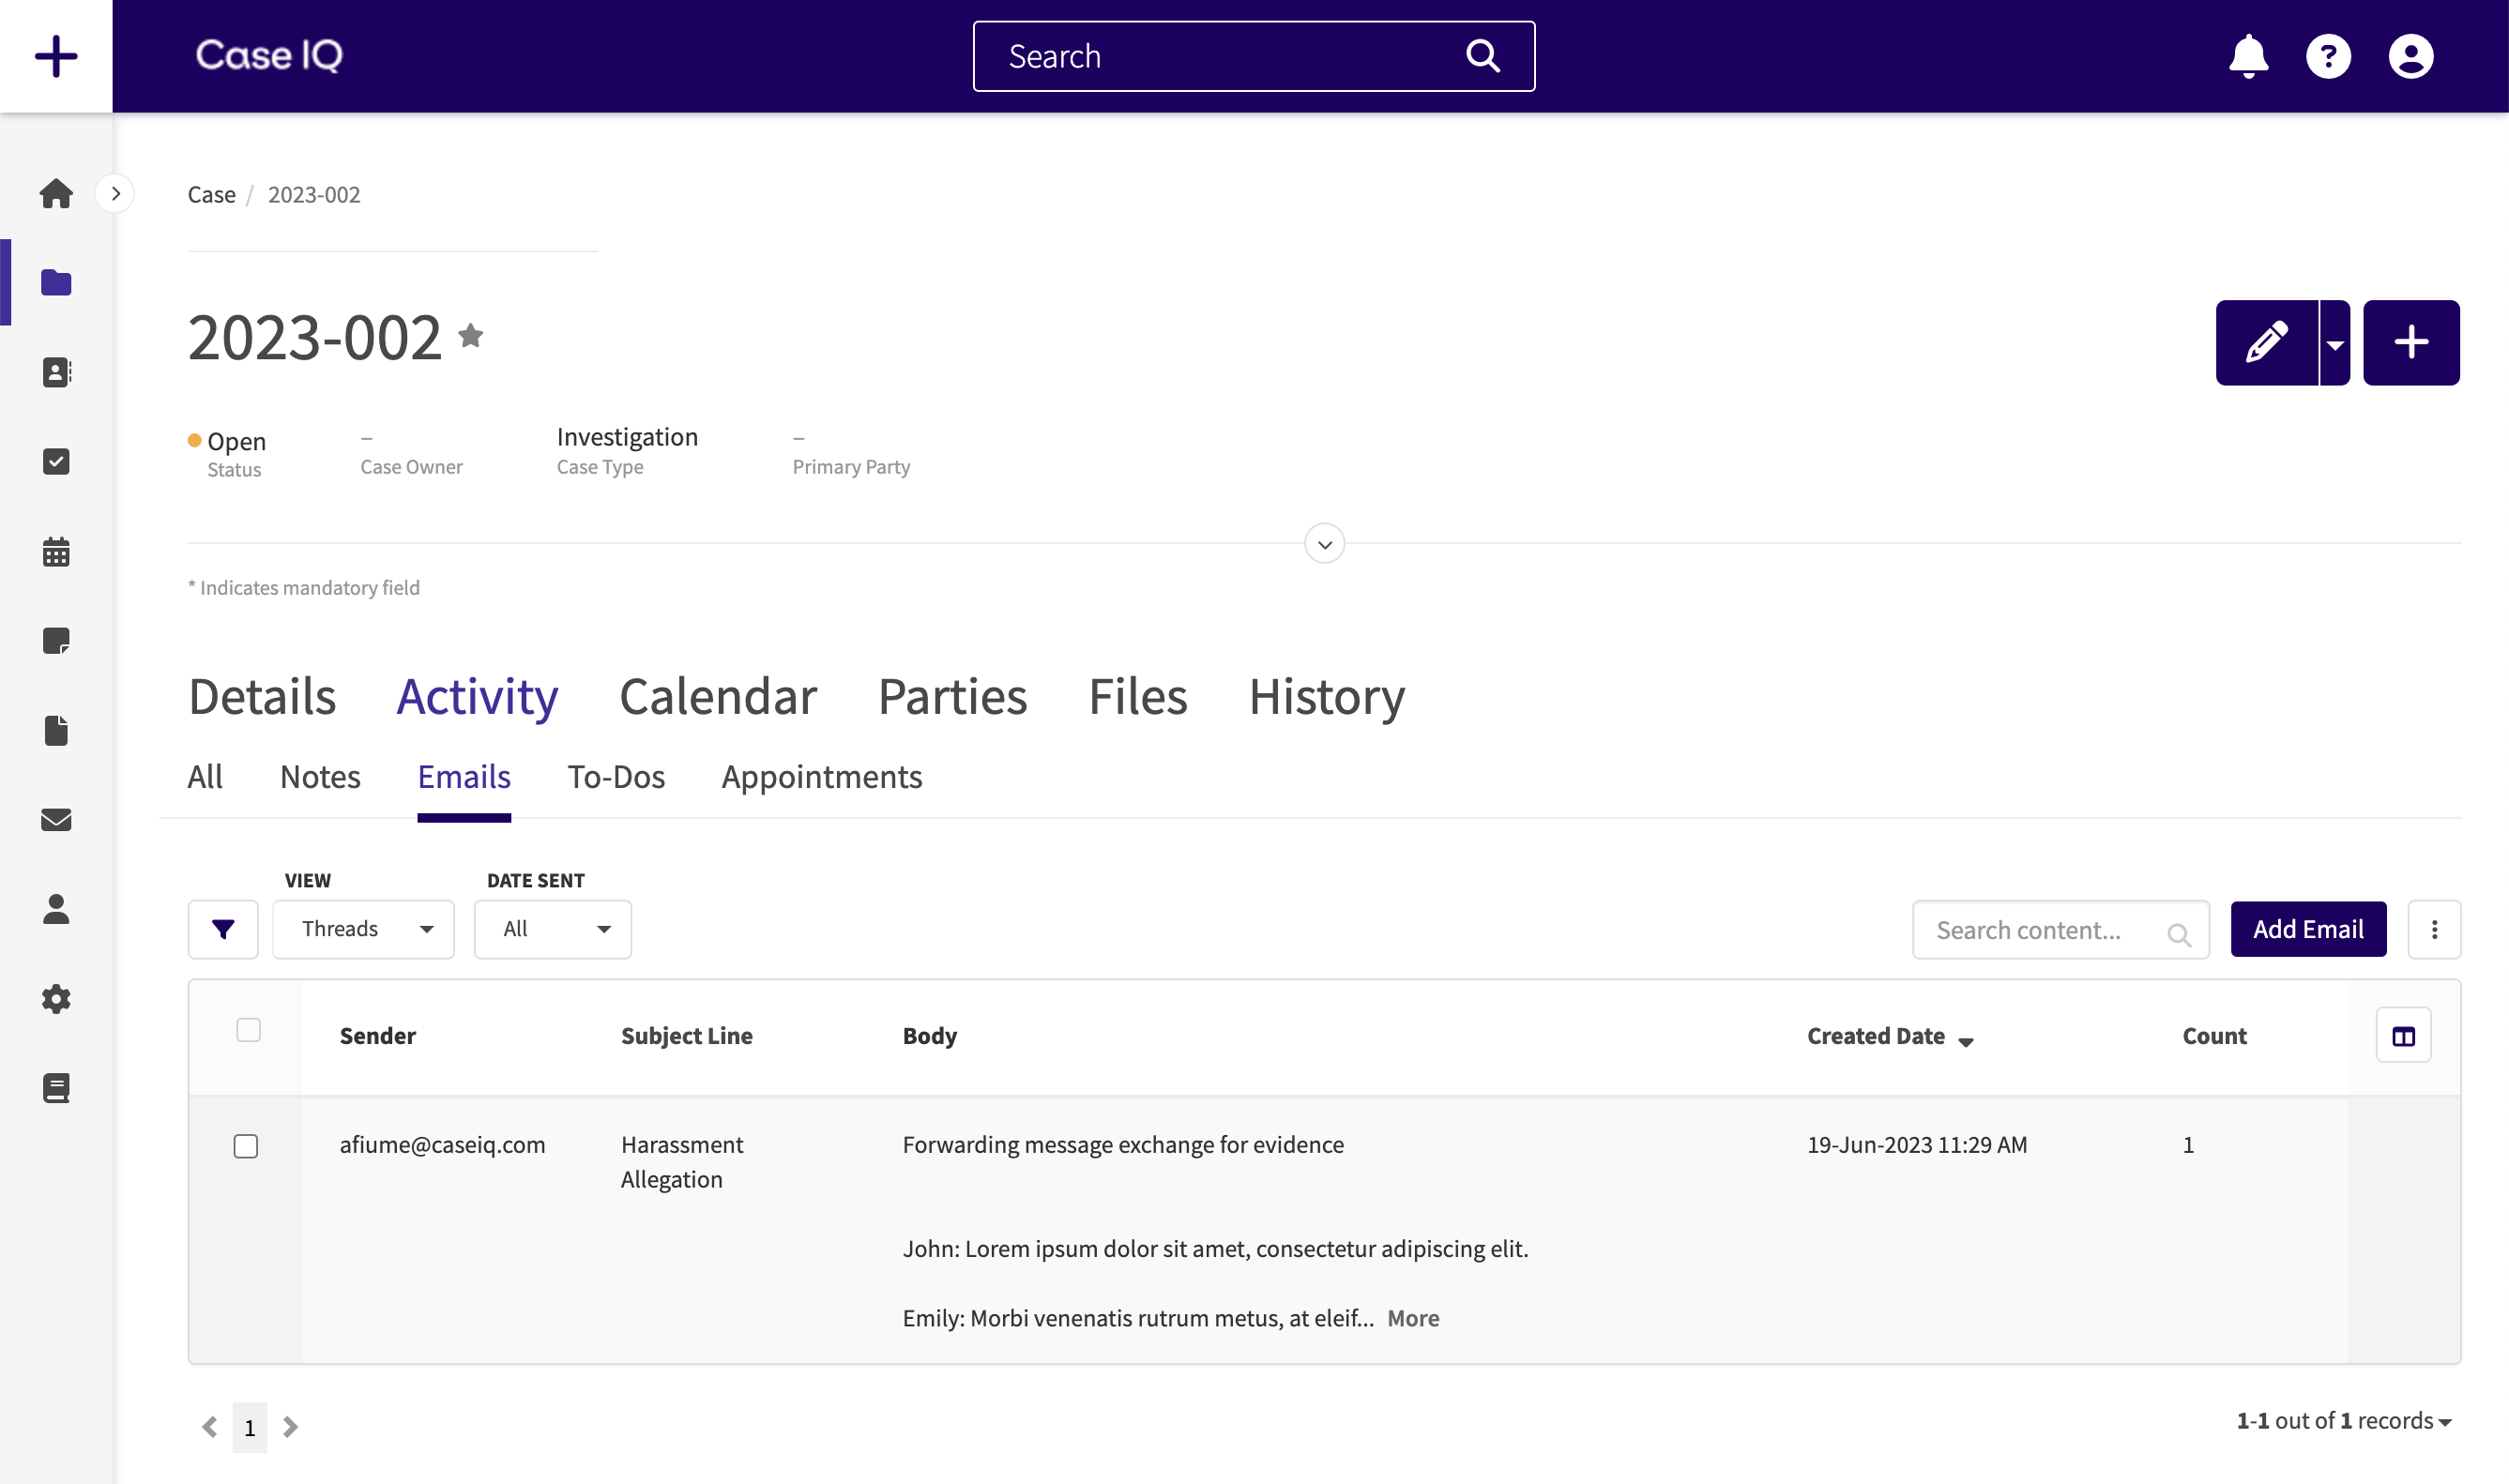
- The email subject line in the example is “2023-002 Harassment Allegation”, which means that the application will search for an existing case with the case ID 2023-002 (labelled 3 in the screenshot below).
- You can add additional information in the subject line after the case number.
- Type a message in the body of the email. This content will appear in the email record attached to the case.
- Send the email.

After sending the email, it will be added as a record of the case (2023-002 in this example), meaning that users can review the email in-application under the Emails sub-tab on the Case’s page. You can click the email row to see a detailed view, where you can reply or forward the email like any other Case IQ email record.

If the system is not able to parse the case number of an email sent to the System Inbox Address, the email will be displayed on the Incoming Mail page where System Administrators can manually tag it (see Add an Email Rule and Review Unassigned Incoming Mail).