Add, Edit, or Delete a Case Submission Rule
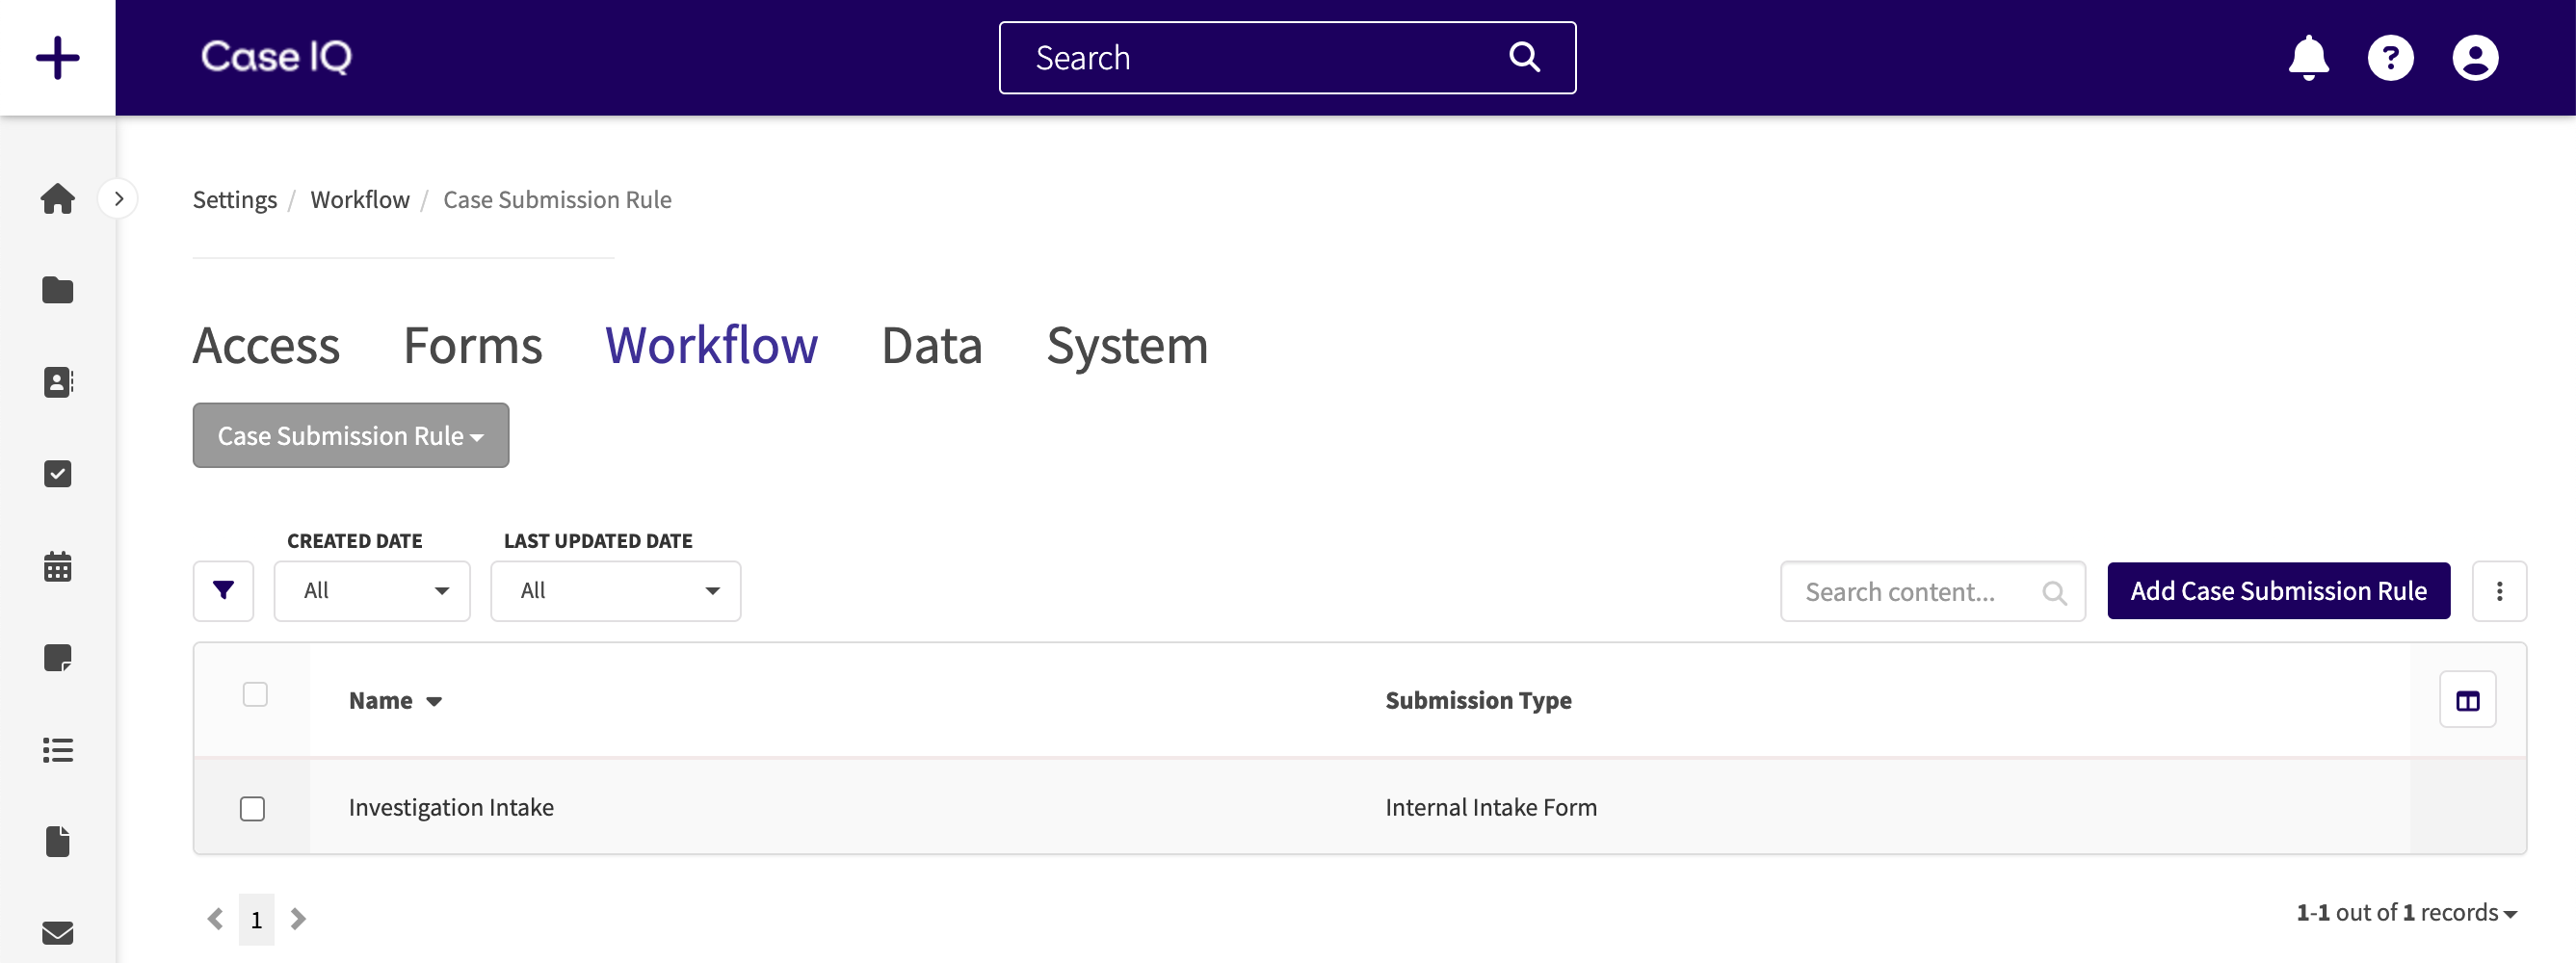
Administrators can add case submission rules to ensure users add forms to a case before submitting it, so that cases document the required information for an organization's process on intake. To review all case submission rule in Case IQ, select the “Case Submission Rule” option on the Workflow tab.
Add a Case Submission Rule
To add a rule, click the Add Case Submission Rule button. Fill in the following fields on the New Case Submission Rule form:
- Name: type in a descriptive name for your rule.
- Submission Type: set if the rule should be applied to cases submitted on the internal intake form (the New Case form in the main application) or portal (the Report Online form).
- Criteria: you can set the specific situations in which Case IQ will apply the rule based on the case’s details.
- If you check the “Must match the following custom criteria” checkbox, the “Search fields…” dropdown will be displayed. You can choose any case field on which to base your rule in the “Search fields…” dropdown.
When you select a field in “Search fields…”, you can choose an operator for the statement, or a logical phrase telling the system how to search for the keywords or values you will enter in the next box, e.g. “contains”, “is”, or “is not”. The operator options available depend on the data type of the field chosen in the “Search fields…” dropdown. - In the next textbox, type in or select the value of the case field for when the case submission rule should be applicable. The keyword or value input method depends on the record field's data type chosen in the “Search fields…” dropdown.
- Click the + Criteria button to add more custom criteria for the rule.
- Using the Any/All toggle, you can set whether the case must meet all or any of the criterium on your list. In the example below, the rule will be applicable for cases where the “Case Type” is “Investigation” and it is set to “Confidential”, as the toggle is set to “All”.
- If you check the “Must match the following custom criteria” checkbox, the “Search fields…” dropdown will be displayed. You can choose any case field on which to base your rule in the “Search fields…” dropdown.
- Validation: choose the record type a user must add to the case before they can submit it. You will only be able to select records that are available for the submission method you selected.
- For example, if the party form is set to “Show on Portal” but the note form is not, you will be able to select “Party” for the case submission rule but not “Note”.
- If you select multiple forms, the “All/Any” toggle will be displayed, so you can choose if users must add all or at least one of the record types you selected.
Click the Save button to submit the case submission rule. To quickly add another rule, click Save and Copy in the New Case Submission Rule form page menu instead.
Edit a Case Submission Rule
You can update case submission rule from the rule's page.
- Click the Edit button on the case submission rule's page
- The case submission rule's page will now be in edit mode, so you can use the text boxes, picklists, and other data input options to update the rule.
- Click the Save button to submit your changes.
Delete a Case Submission Rule
You cannot deactivate and reactivate case submission rule. If you need the case submission rule's automation to stop triggering, you must delete the rule. You can delete case submission rules from either the case submission rule's page or the Case Submission Rules grid.
If you only need to delete a single case submission rule, navigate to the case submission rule's page. Then, click the Options ( ) button and select the "Delete" option.
You can also delete multiple case submission rule from the Case Submission Rules grid. Select the checkbox in the leftmost column for each row you would like to delete, then click the Delete button above the grid.