Add a Case In-Application
You can manually create a new case record using the New Case form in Case IQ. Depending on your configuration, you may be able to create cases via email (see Add a Case via Email) or web portal. Reach out to your System Administrator to confirm.
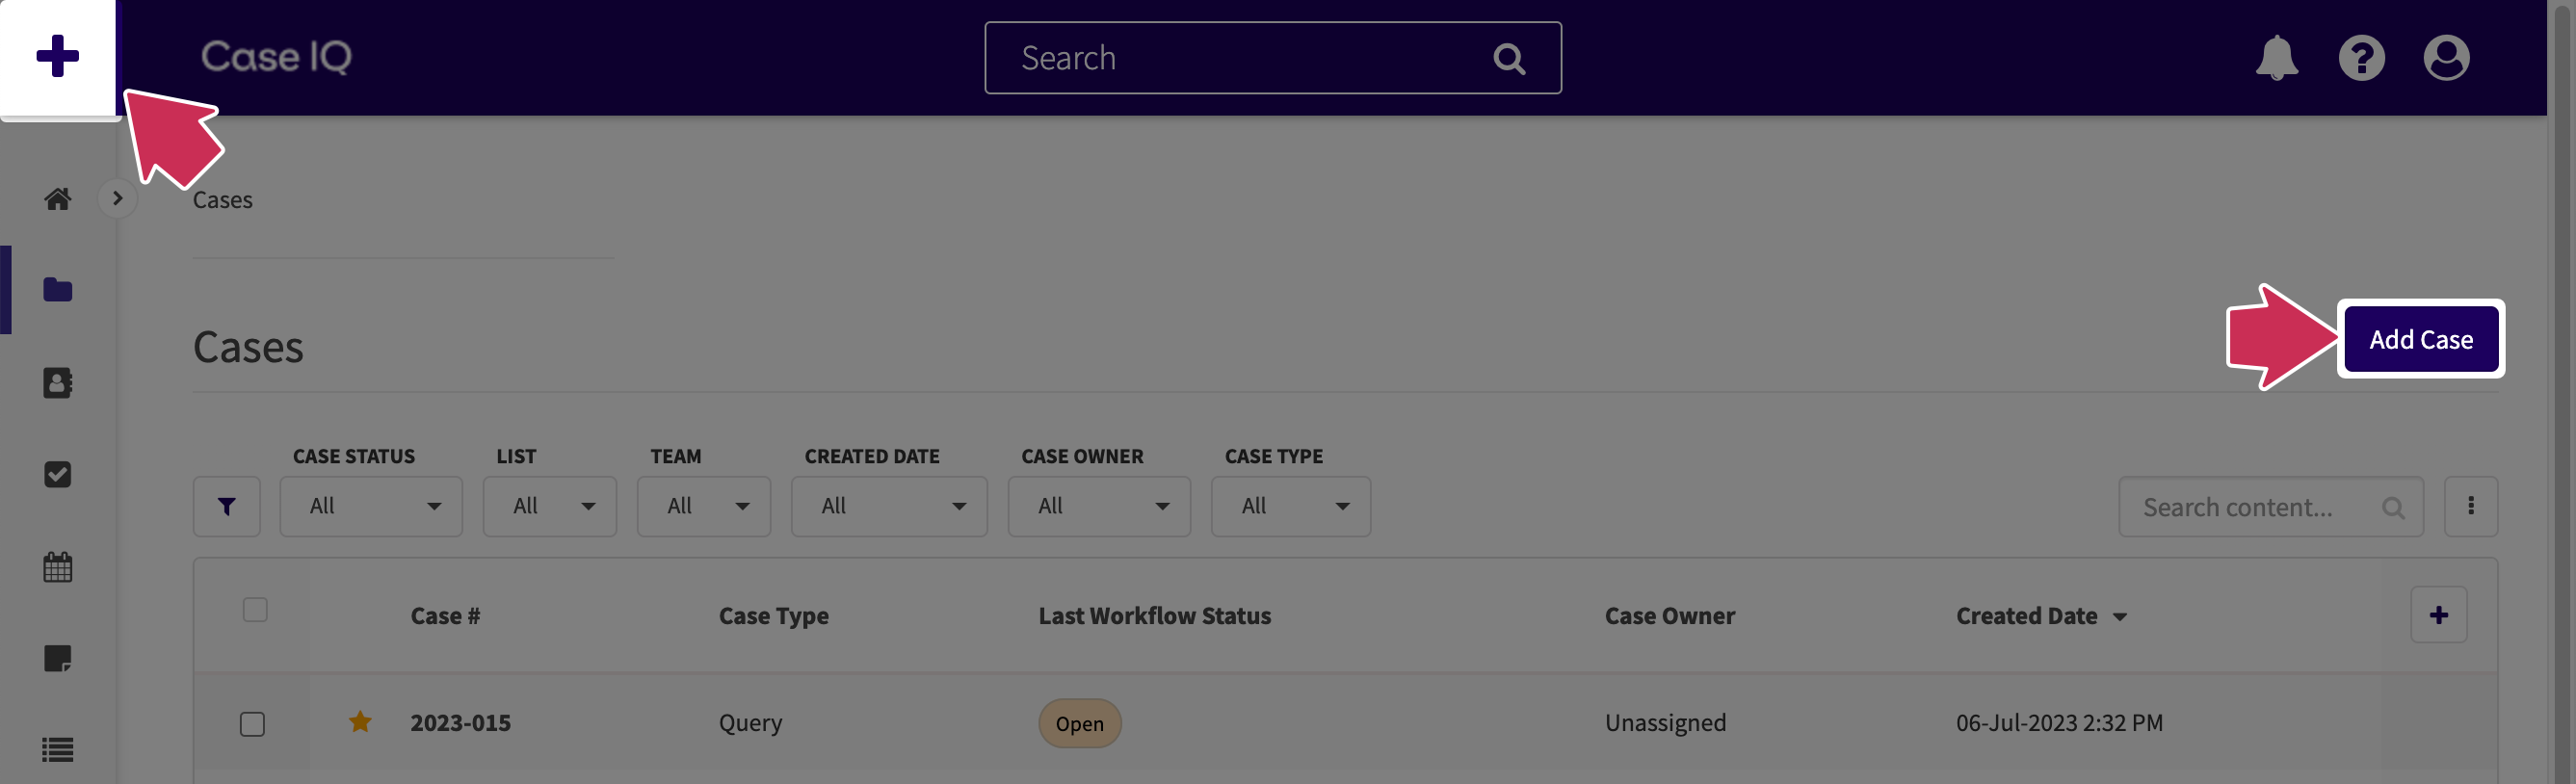
You can access the New Case form using either (1) the “+” button at the top of all application pages or (2) the Add Case button on the Cases Grid page.
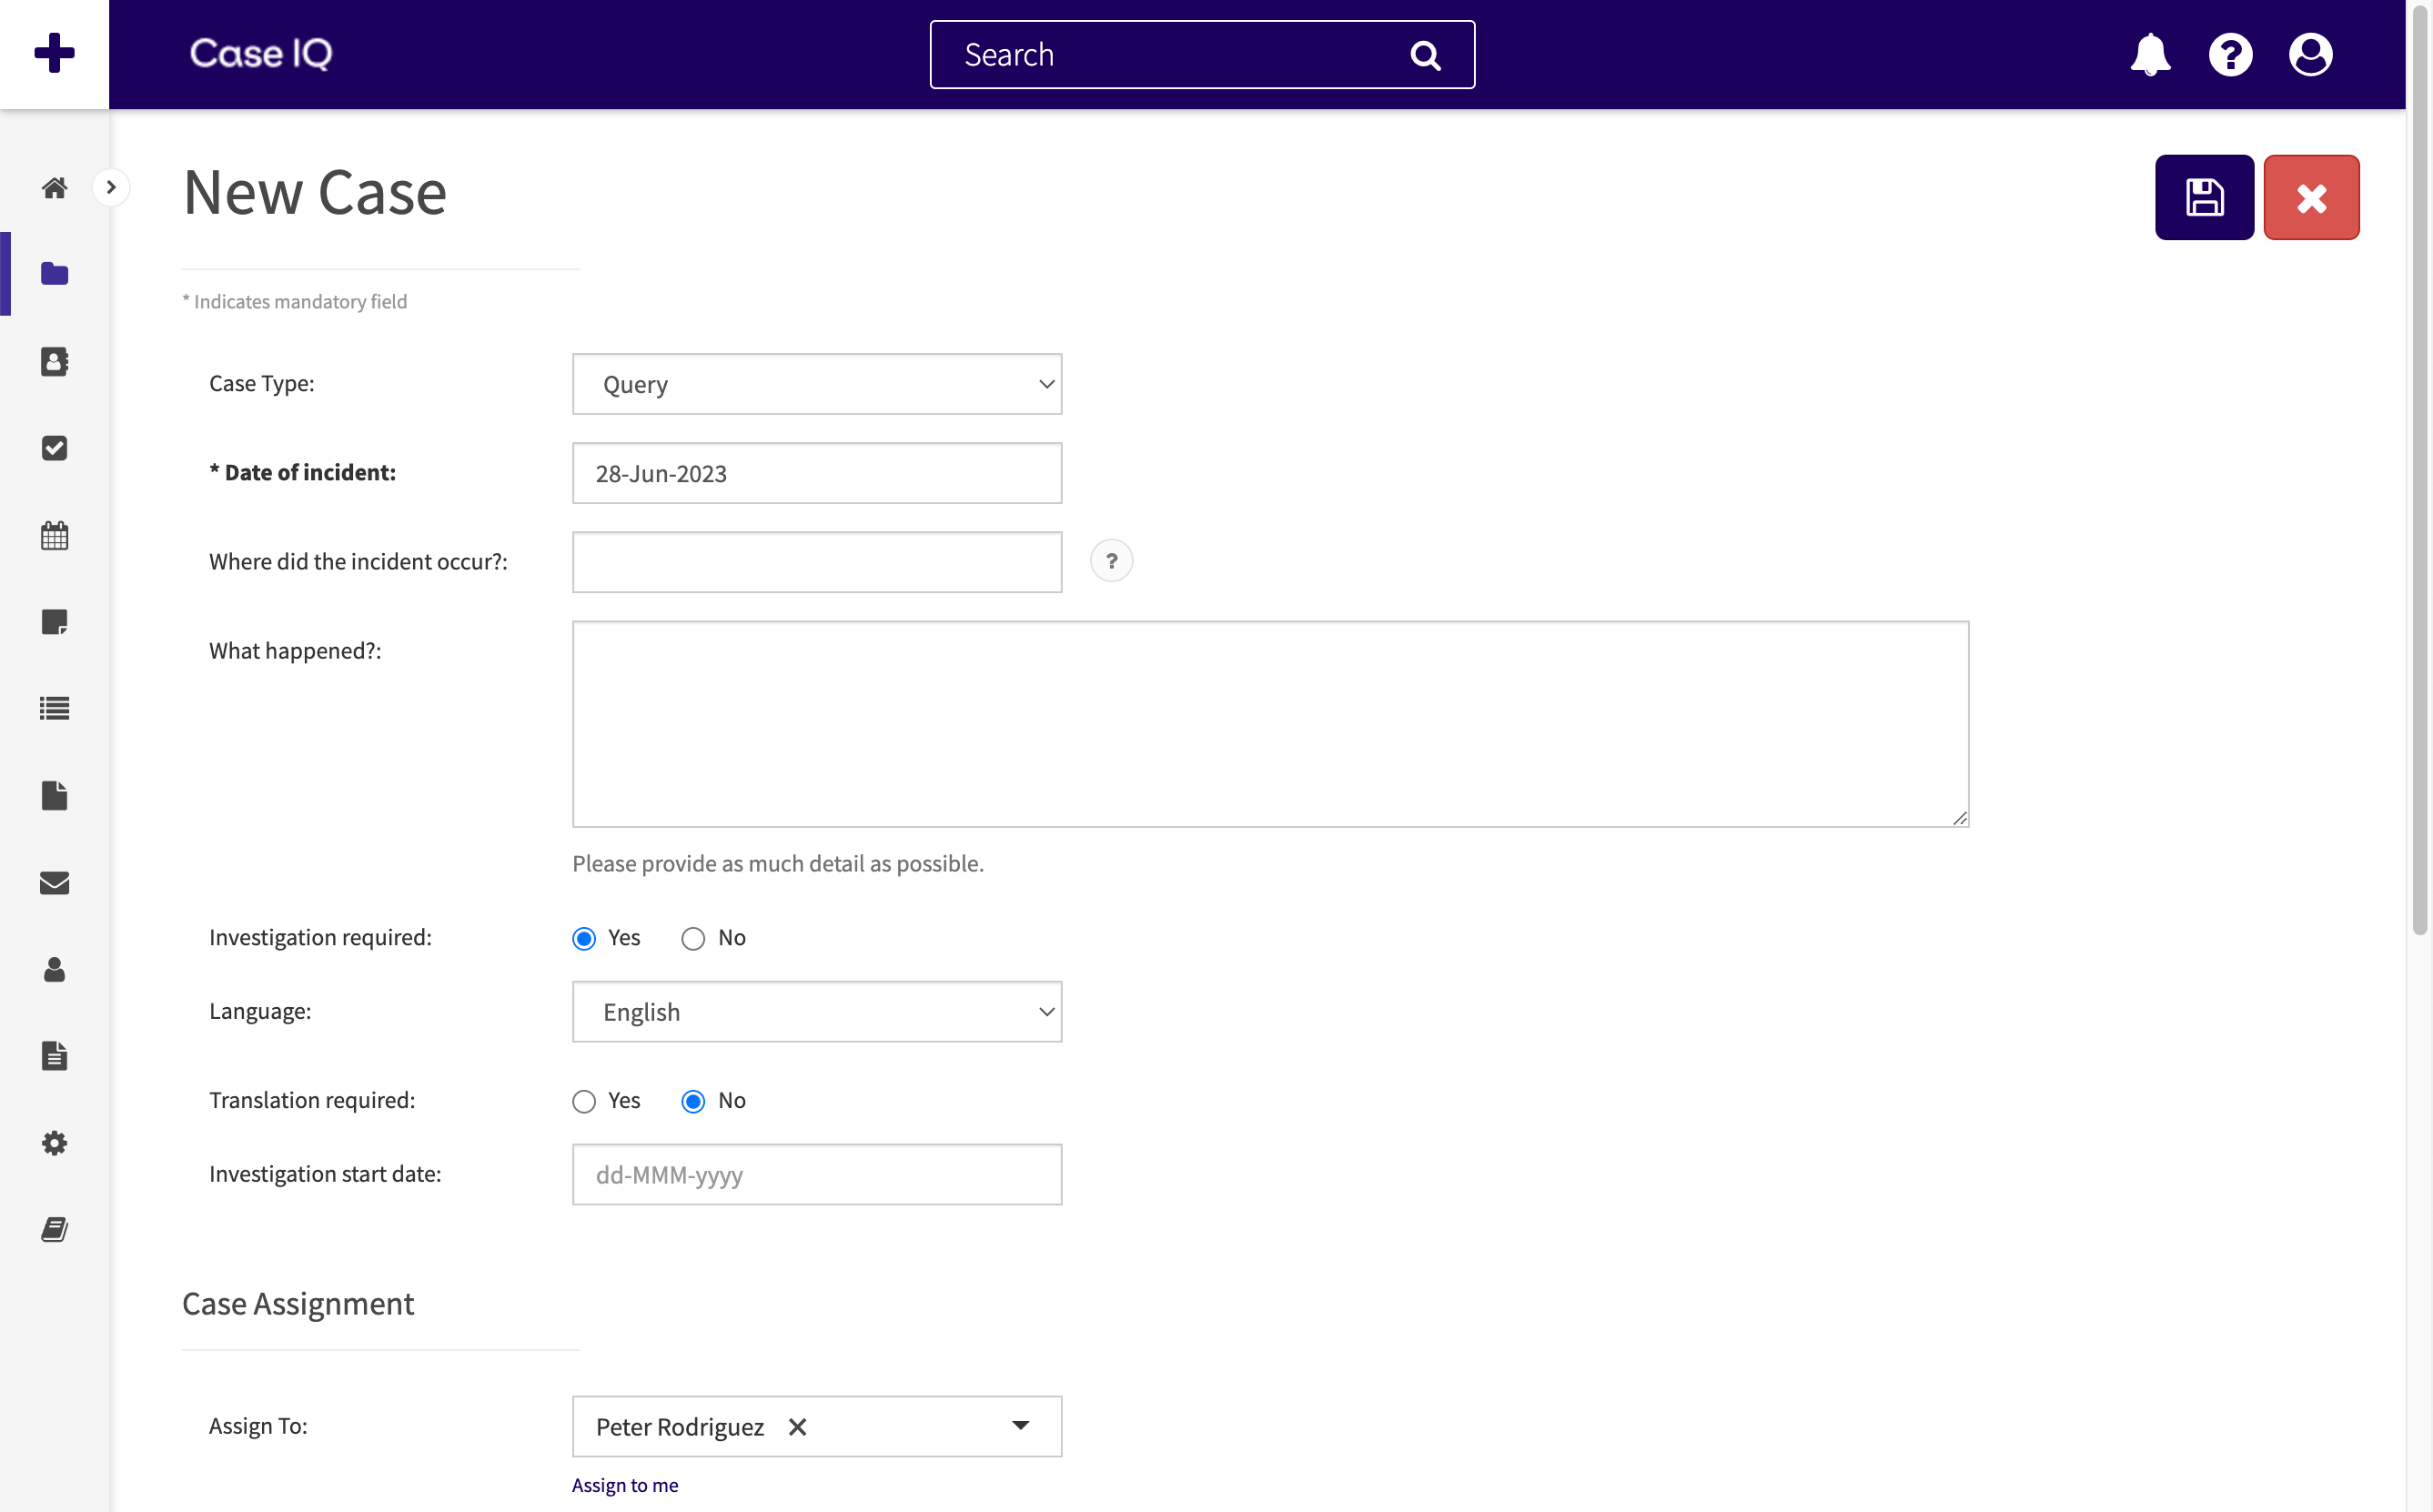
After loading the New Case form, you can fill in the relevant fields. Required fields are marked with an asterisk (*) and must be completed before you can submit the page.
Add a Record from New Case Form
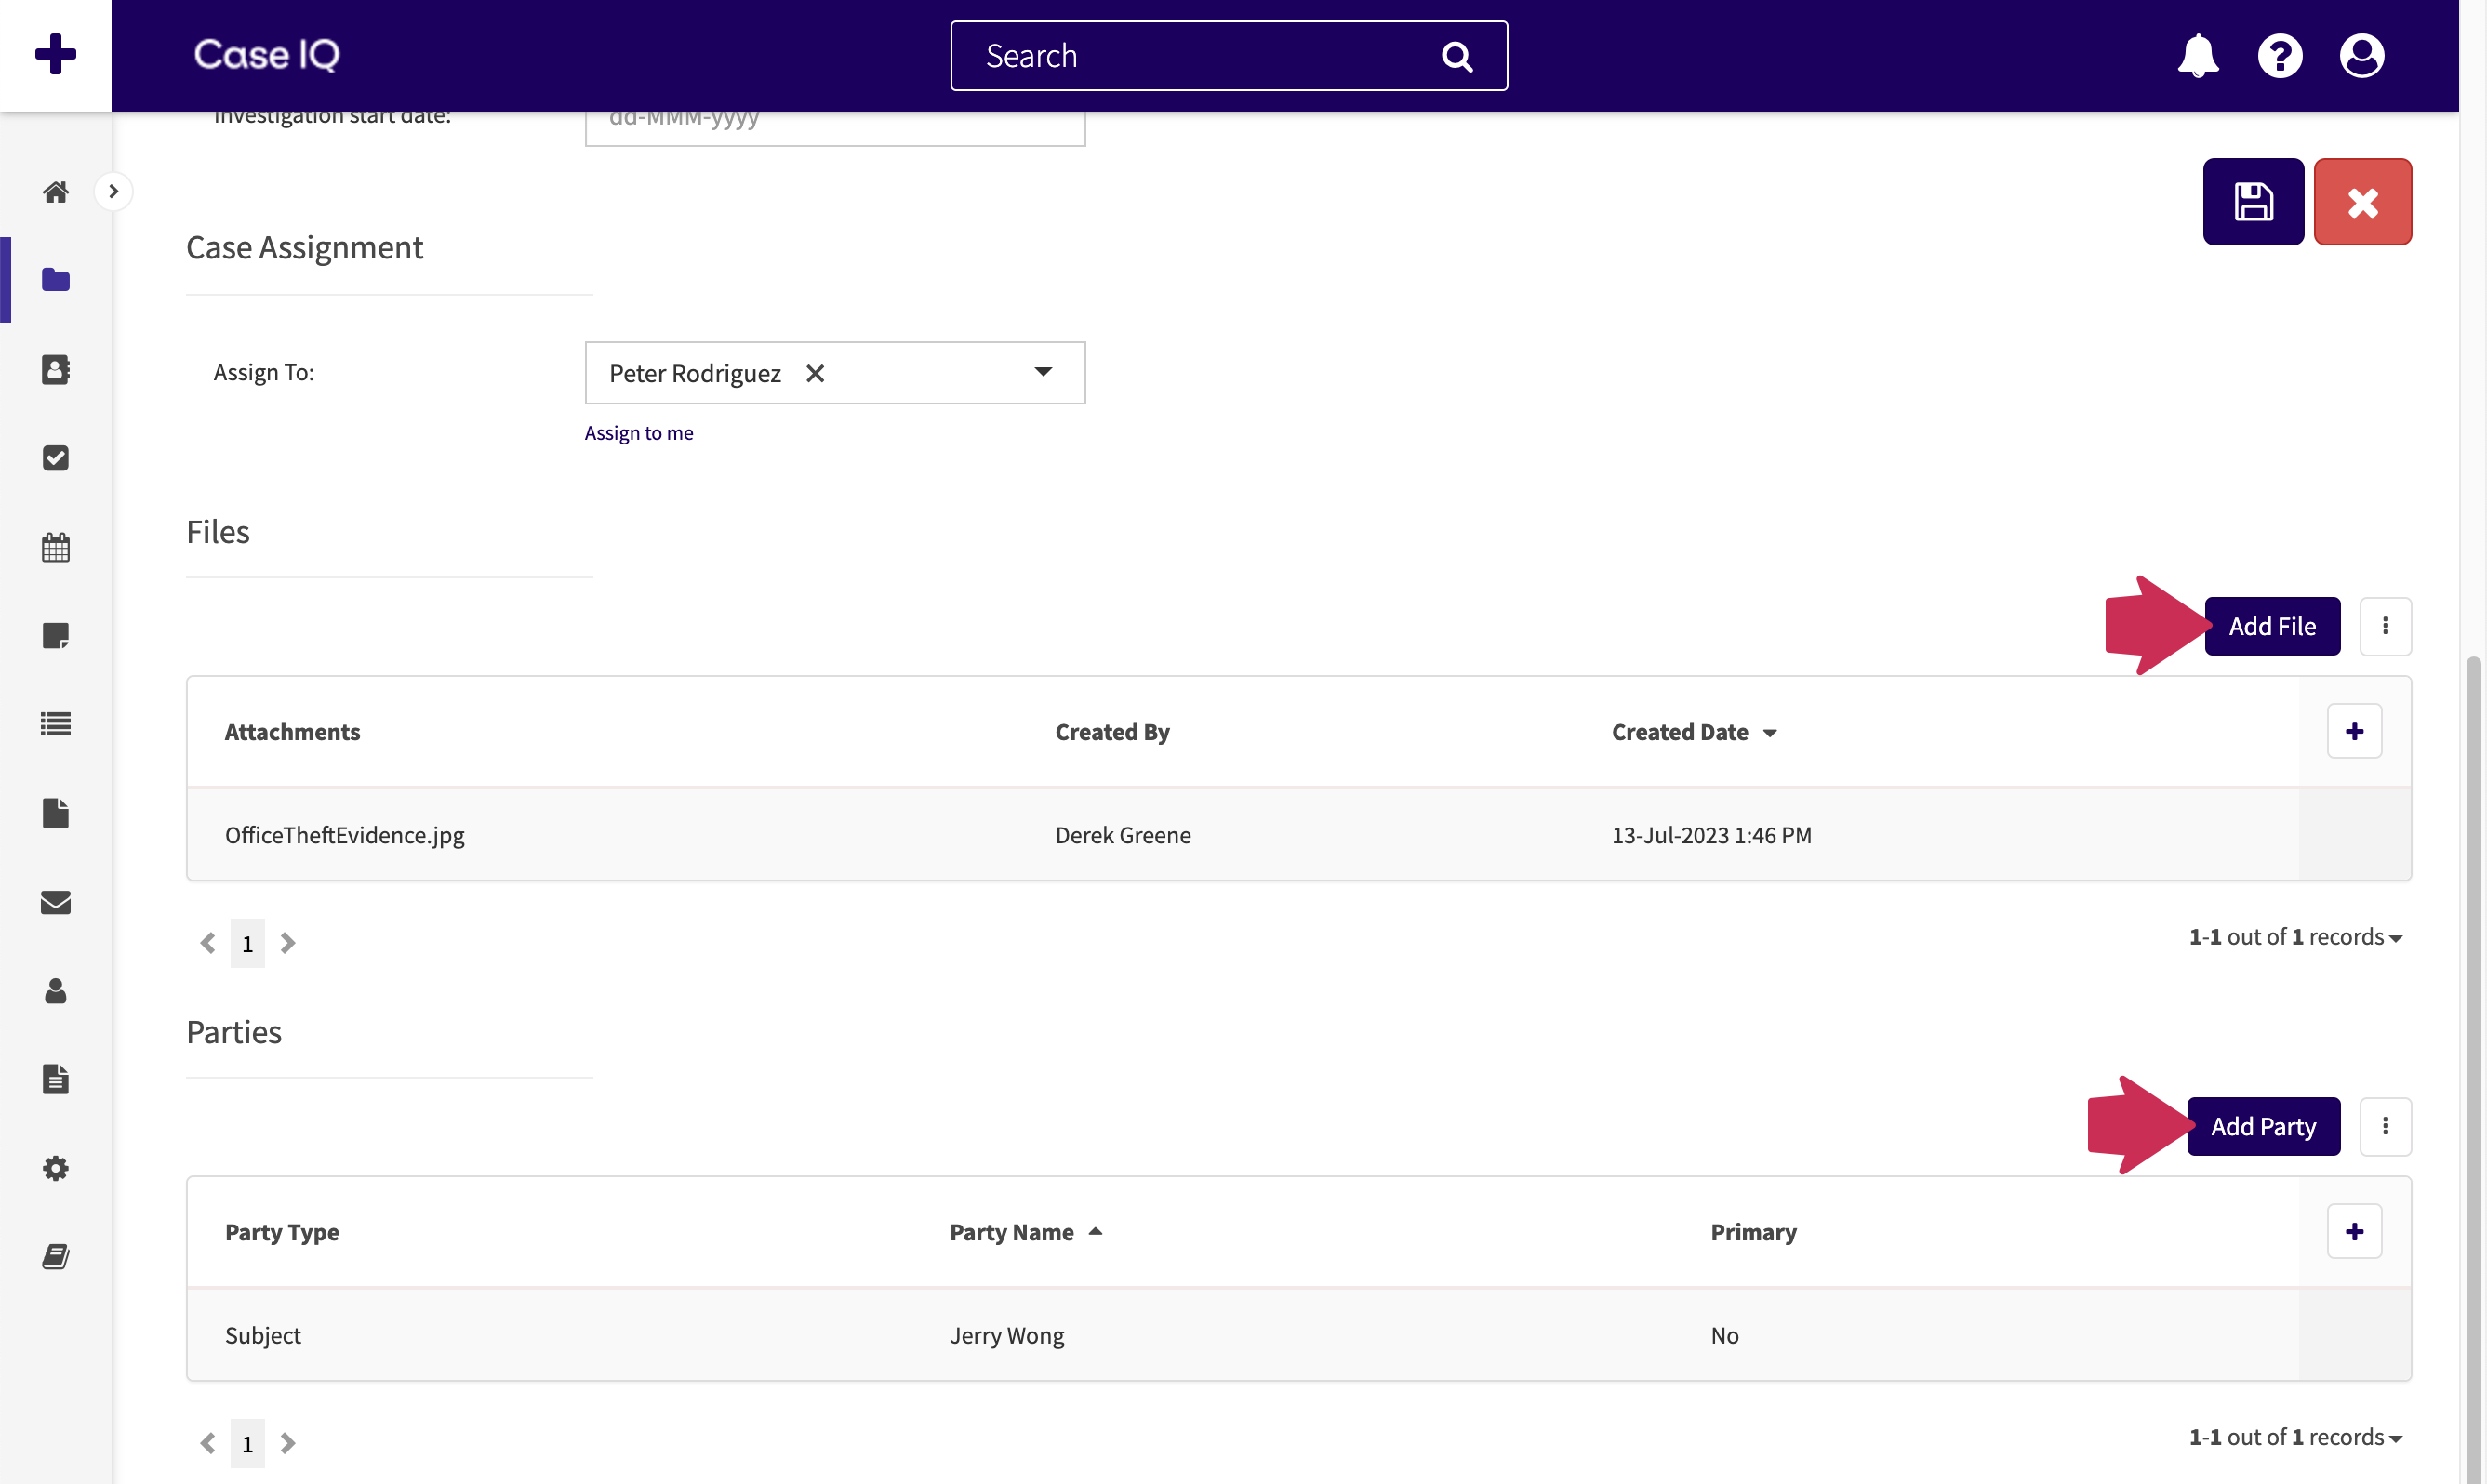
You may be able to add a record, such as a party or file, to the case from the New Case form depending on your application’s configuration. If you can add other records while creating a new case, record grids will be displayed below the New Case form fields, as shown in the example below. To add a record from the New Case form:
- Click the Add [Record] button for the record type. Examples of these buttons are highlighted below, reading Add File and Add Party.
- The New form page for the record type will be loaded (see guidance on adding record types in the following articles: To-Dos, Notes, Emails, Files, Parties, Appointments, and Custom Forms).
- When you have completed filling in all required fields for the New Record form, click the Save button at the top of the New Record form page. You will be redirected back to the New Case form.
- On the New Case form, click the Save button to finish creating the case and the associated records. Based on your settings in the Case Capture Redirect options (see Change Account Settings on Profile Page), the Cases Grid or the case’s page will be loaded. Your case will now appear on the Cases Grid and you can view the case details and associated records on its page.