Filter Cases Users Can Access
You can restrict the types of cases users can access by configuring case filters for a user role. Before allowing someone to access a case, the system will check if their role's case filters are met. You can use any “picklist” or “picklist multiple” field on both the user profile and case forms as a case filter. For example, if your application has a "Department" field on the user profile and case forms, you could set up a case filter to ensure users can only access a case with the same "Department" value as their user profile.

Case Filter Examples
By setting up case filters for a user role, you can control the exact situations in which a user can view a case. This allows you to mitigate the risk of information being accessed without appropriate authorization. For example, you could configure case filters so that:
- Investigators can only access cases in their geographic region, e.g. American investigators will only be able to see cases that happened in the US.
- Managers can only access cases allocated to their department, e.g. Human Resources managers can only see cases triaged to the HR department.
- Investigators cannot access cases that happened in their office building, e.g. an employee working out of the Greenfield office will not see cases that occurred at the Greenfield office.
In this article, we demonstrate how to add case filters using an example Department Manager role. Users with the "Department Manager" role will only be able to view cases with the same “Department” value as their user profile in our sample application. The user profile below, Jen Cedar, will only be able to access cases where the “Department” is “Human Resources”, including case 2026-007. She will not be able to access case 2026-011, since its department is "Legal".

Before you can set up case filters, you must set any case fields you want to use in filters as "Available for Case Filtering". However, the "Case Type" field and all user profile picklists will be available by default. To set case fields as available for case filters:
1. Navigate to Settings > Forms. Click "Case" in the Forms grid to load it in the Form Builder.

2. Click the Edit button on the Form Builder. The case form will now be in edit mode.

3. Click the picklist or picklist multiple field you want to use for a case filter. For this example, we use a picklist called "Department". To create a new picklist field, see Configure a Picklist and Picklist Option for details.

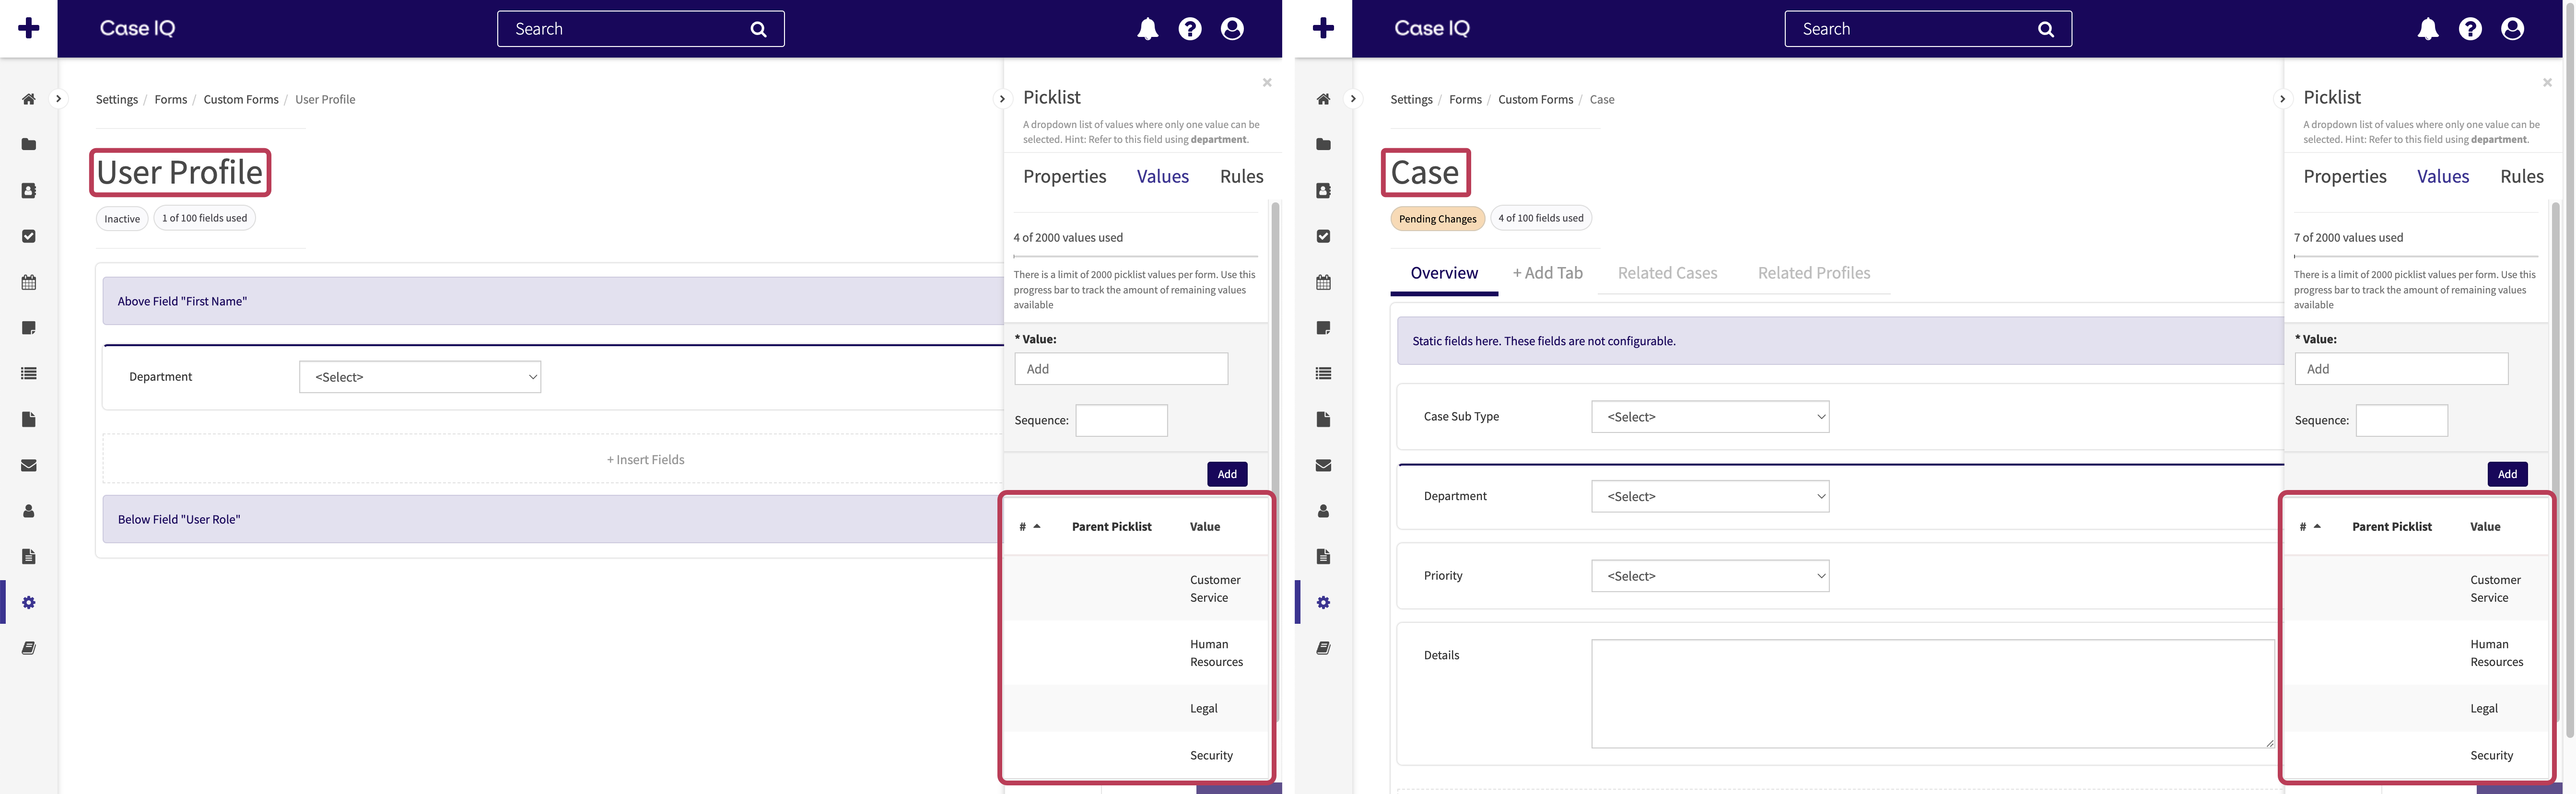
4. In the field's properties, click the "Available for Case Filtering" toggle to turn it on. You can set up to 5 fields as available for case filters.

5. Click the Save button at the bottom of the Field Type sidebar.
6. When you are done making changes to the form, click the Publish button. Then, click Confirm on the "Publish changes" pop-up. You can now use this picklist in case filters.

Now that you have set case fields to be available for case filters, you can configure case filters for your application's user roles. To add case filters for a user role:
1. Navigate to Settings > Access > User Roles. Then, select a user role.

2. Click the Edit button on the User Role's page.

3. Click the Case Filters tab.

4. On the Case Filters tab, use the dropdown menus to set a user profile picklist, operator, and case picklist for a filter. See the labelled screenshot and explanations below for details on each dropdown and button.

- Select a user profile picklist for the filter. All picklist or picklist multiple fields on the user profile form will be available in this dropdown.
- Indicate if the user profile picklist value should include or not include the case picklist value.
- By selecting "Include", the filter will be met when the user profile's picklist value matches the case's picklist value.
- If you select "Not Include", the filter will be met when the case and user profile picklist values do not match.
- Choose a case picklist for the filter. All case picklist or picklist multiple fields set as “Available for Case Filtering” will be displayed in this dropdown.
- If you want to add more filters, click the + Add Another button. You can add up to 10 case filters to a user role.
- If you add multiple filters, use the "All/Or" toggle to set whether all or just one of the filters must be met for users to be able to access cases.
- By selecting "All", users will only be able to access a case when all filters are met.
- If you select "Or", users can access a case even if only one of the filters is met.
For our example "Department Manager" user role, we created the following case filter: "User's Department Includes Case's Department".

5. Click the Save button on the User Role's page. Now, users with this role will only be able to access a case when its filters are met.
